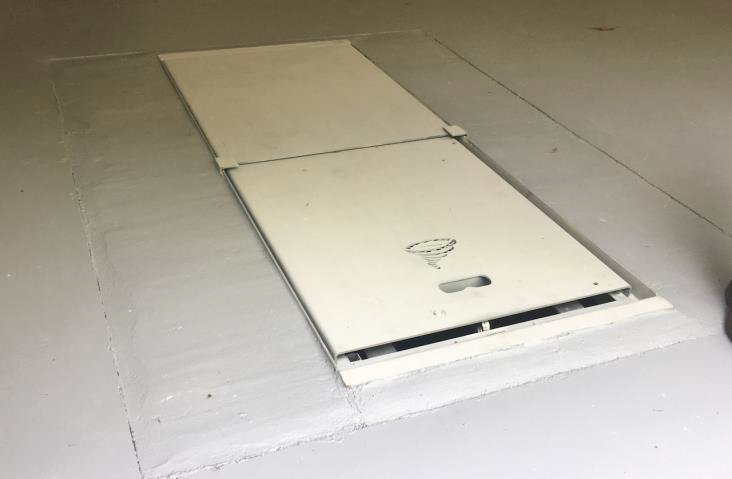
Inground Indoor Shelter New Construction Manual
Please make sure that you read this manual carefully before proceeding with the installation.
Before the Concrete Slab is Poured
Tools and Materials Needed:
A. A mini excavator:
Medium and Large shelters: These units weigh approximately 2,000 lb. Equipment: John Deere 35, Bobcat 35, or similar
Jumbo shelters: They weigh approximately 3,500 lb. Equipment: Bobcat 42,45 or 50, Deere 50, or similar
B. 3,000 PSI concrete pea gravel ready mix -five (5) cubic yards for the medium and large, and six (6) yards for the jumbo
C. Concrete vibrator
D. Half inch rebar, 6 to 10 pieces, 10’ long
E. 8’ 5,000 lb. chain with hooks
F. Six (6) heavy-duty soil steel stakes
G. 40’ heavy-duty rope, cables, or straps. We recommend 5,000 lb. straps; in case of movement, it allows for quick adjustments
H. Other essential construction tools
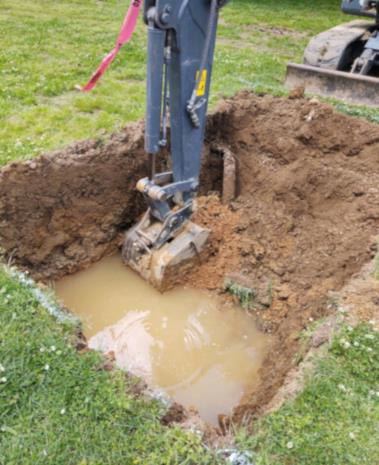
Install your shelter during the non-rainy season. Do not install shelters in areas with high water tables.
Disclaimer: Always use the correct tools, and proper safety methods. Torshel shall not be held liable for any errors, omissions or for damages or injuries of any kind.
Note: An experienced contractor must conduct the installation.
Note: An experienced contractor must conduct the installation.
1. The contractor will measure and mark the desired location. Then, with the aid of a mini excavator, proceed to dig a rectangle hole. For instance, if your shelter is 5’W x 7’ L x 5’4” H, the pit must be 6’W x 8’ L x 5’5”.
2. You can have the unit flush with the concrete level, or 1” above the ground. Note that having it 1” or more above the concrete will prevent water from getting inside the unit in case of an accident.
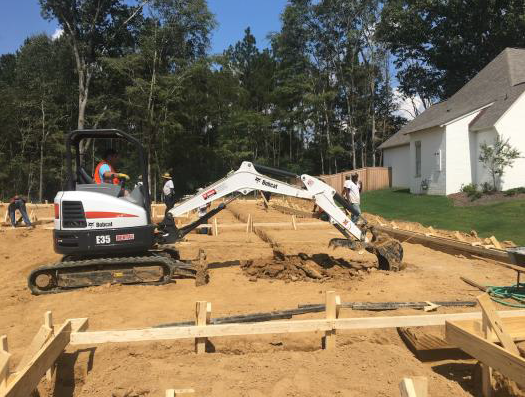
3. The pit must be perfectly square and leveled; otherwise, the shelter will not be leveled.
4. Measure the height of the shelter and the height of the hole one more time. Again, make sure that you have the correct dimensions; otherwise, you will need to repeat step # 8.
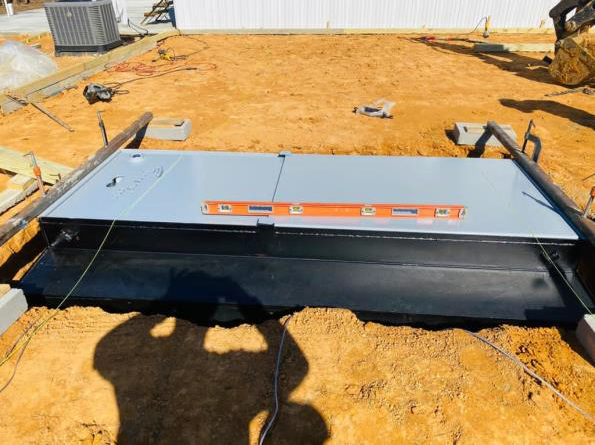
5. Put one small concrete block on each corner of the hole and make sure they are leveled. The shelter will be placed on top of them; this will leave about 4” to 6” gap.
6. Make sure there is space on the bottom for the concrete to penetrate
underneath the unit.
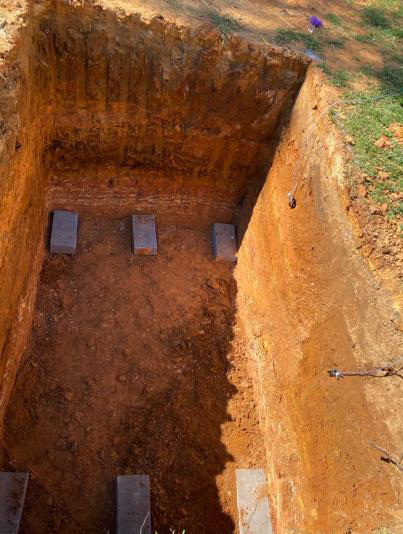
7. Install 6 heavy-duty stakes horizontally on the bottom of the long walls, 3 per side.
8. Cover the bottom and walls of the pit with heavy-duty plastic, use the tape to secure the entire hole, and prevent water from entering. Make small holes so the stakes can be exposed and then covered surrounding with tape.
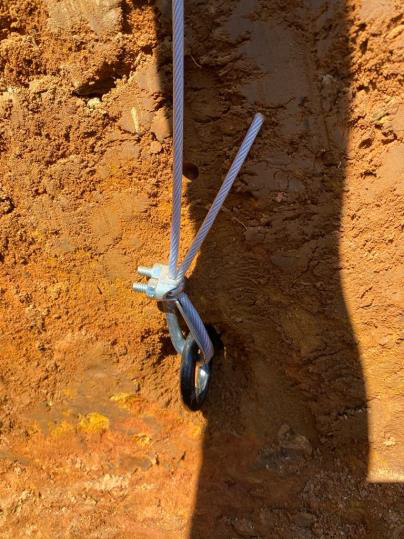
9. Attach heavy-duty cables or a strap and leave it on the side. Once you place the shelter inside the hole, these cables will secure the
shelter in place and when you pour the concrete into the pit, the shelter will not float. Install a minimum of 3 holding cables for the medium and large units, 4 for the jumbo.
10. Using the heavy-duty chain, lift the shelter using the excavator. Make sure that the chain is secured to prevent any accidents.
11. Slowly lower the shelter and fit into place, making sure the unit is leveled, flush or 1” above the future concrete slab level.
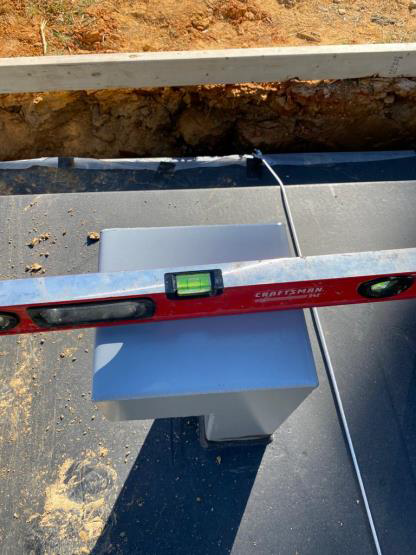
12. Install a “Do not remove the plastic” sign on top of the shelter.
13. Cover the shelter with 2 layers of plastic; this will prevent rainwater or any liquids from getting inside during the construction the plastic will be removed once the house is ready to be moved in.
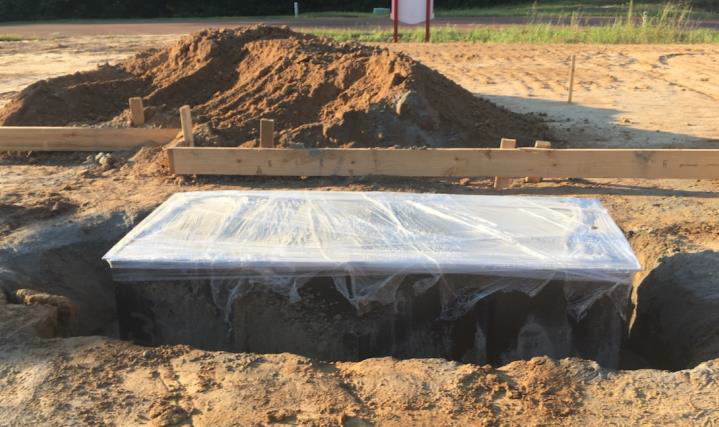
14. With the shelter in place, tie it down using the cables or straps; cover the sharp corners of the shelter so that they won’t damage the rope or cables. Ensure that they are secured and very tight; otherwise, the concrete going underneath the shelter will create a lot of pressure and push it up. If this step is not done properly, the shelter will float, and it will be a disaster (like this picture).
15. At this point, you are ready to pour concrete. First, make sure that the cables are well tightened and secure. Next, ask the truck operator to pour the concrete thin (wet) to penetrate underneath the shelter.
18. Start on one side, and then go to the opposite side. Use the concrete vibrator to make sure that the concrete reaches all the spots.
19. Get inside the shelter, use a rubber hammer, and hit the floor to make sure the concrete is filling the shelter’s bottom.
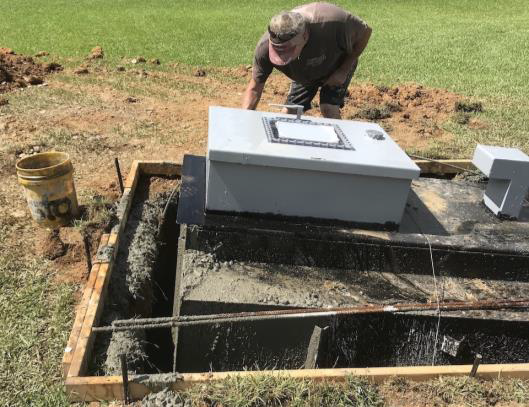
16. Go slowly on one side, like if you were looking at a clock, go to 12, then to 6, then to 3, then to 9. You need to pour a little bit of concrete on one side, then go to the opposite side, and so on, always making sure that the shelter does not move. If you pour one side only, the concrete will force the unit, and it will be tough to square and level it again.
17. Go around the unit, pouring concrete and vibrating it until you reach a level like shown in the picture.
18. Do not fulfill completely; leave the upper 4-5″ free, the concrete slab will be poured soon, and lock the shelter with the entire slab.
19. Let it cure for 2-5 days. If the stakes were correctly installed, they will hold the unit until the concrete cures. The rope or cable will be left inside the concrete, and the rest can be cut after 30 days.
20. The company in charge of the concrete slab should later complete filling the remaining unfilled area with concrete. Contact this company and make sure that they do not remove the plastic before pouring the slab.
21. The homebuilder or homeowner needs to be present during the pouring day. Ask the concrete crew to do the best finishing job. They need to pour a little bit of concrete on one side, then go to the opposite side, and so on, always making sure that they do not move the shelter. If they pour one side only, the concrete will force the unit, and it will be almost impossible to square and level it again.
22. Once the shelter is installed correctly, we recommend removing the plastic when the
house is ready to be moved in; using a knife, cut the plastic slowly; if everything was done properly, the unit should be clean and ready to be used.
23. By using this method, the in-ground shelter will be anchored with the entire foundation.
24. If you have any questions, please contact us ahead of time. We can do some training by Skype or phone call. info@torshel.com
